

Facebook’s Pixel is an analytics tool that helps websites measure how visitors interact with content on their site. It allows you to see which pages people visit, where they come from, and what actions they take while visiting your site. It also allows you to target Facebook and Instagram ads to people who’ve previously visited your site and track conversions. But before you do that you’ll need to know how to add your Facebook pixel to WordPress.
Estimated reading time: 8 minutes
Options on how to install the Facebook pixel on WordPress
There are 2 ways you can install the Facebook pixel on a WordPress website. You can either use a plugin specifically for adding a Facebook pixel or you can choose to add the code manually. This tutorial will take you through both options so you can choose which one you prefer.
Facebook pixel plugin or adding the code manually, which should you choose?
There are pros and cons to both options but in the grand scheme of things it won’t make much difference which one you choose.
Facebook pixel plugins are designed to make the process of adding the Facebook pixel to your site in the simplest way possible. Usually by pasting your code in and then a few clicks of a button. You’ll also find that you can track information like product categories visitors have viewed, post views and more.
By adding the code manually you’ll have one less plugin installed which can help keep your site running quicker. It’s also one less plugin to keep up to date.
Popular Facebook pixel plugins for WordPress
Here are some of the most popular Facebook pixel plugins for WordPress. For the purposes of this tutorial we’re going to look at how to add the Facebook pixel to WordPress using Pixel Your Site. But you’ll find that most plugins work in a similar way.
Pixel Your Site
Pixel Cat
Installing the plugin and adding your pixel
1. Log in to your WordPress dashboard
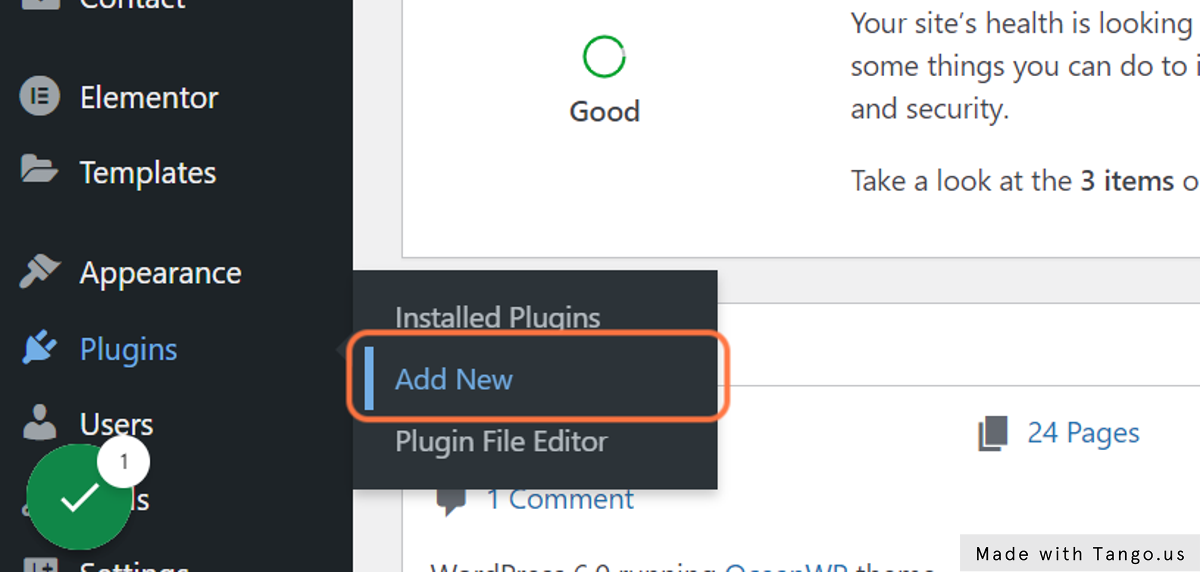
2. Hover over the Plugins menu on the left hand panel and click Add New.
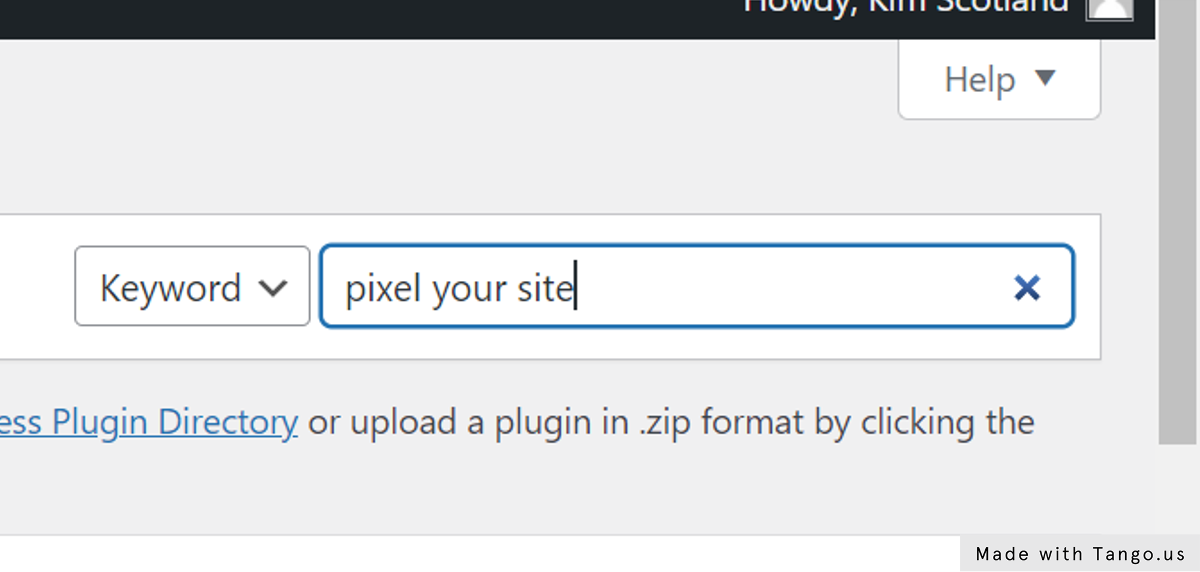
3. Search for “pixel your site”
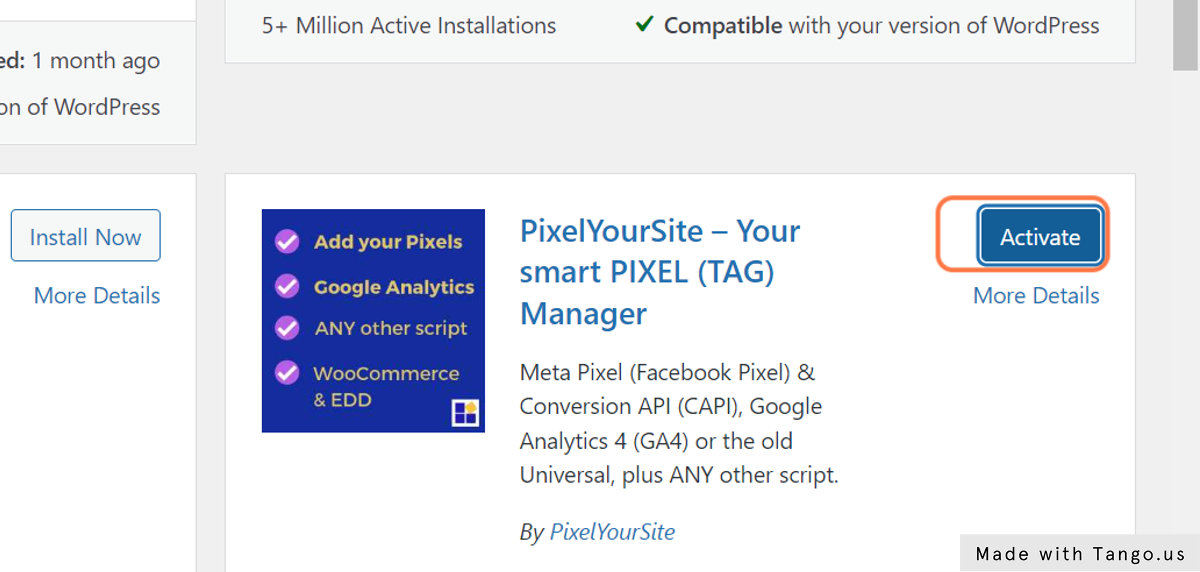
4. Click on Install then click Activate
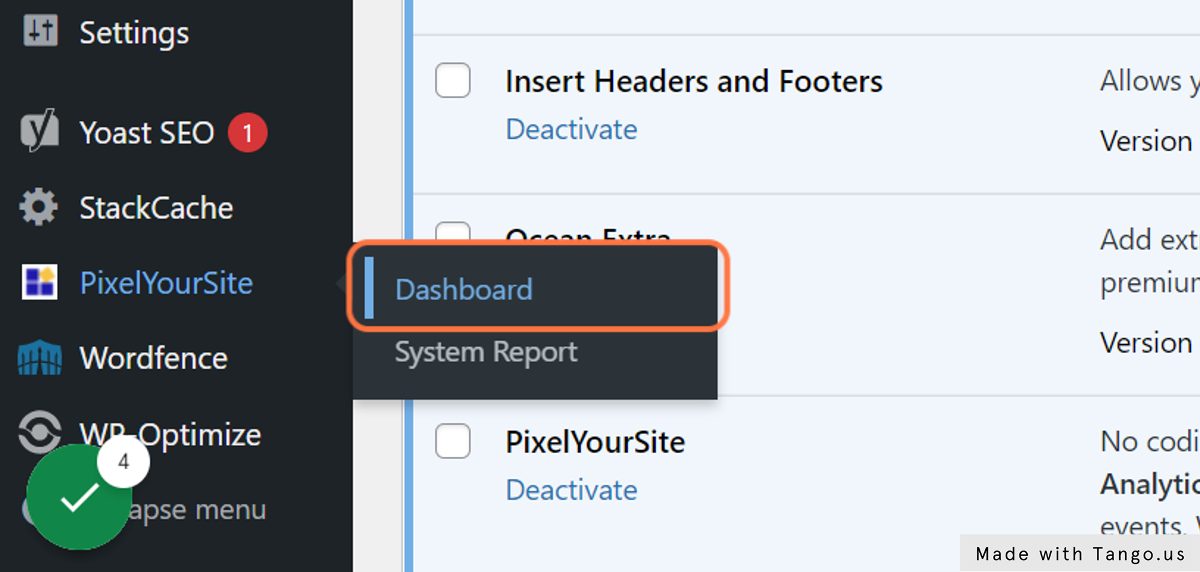
5. In the left hand panel hover over PixelYourSite and click on Dashboard
6. Click on Click for settings opposite the Facebook logo
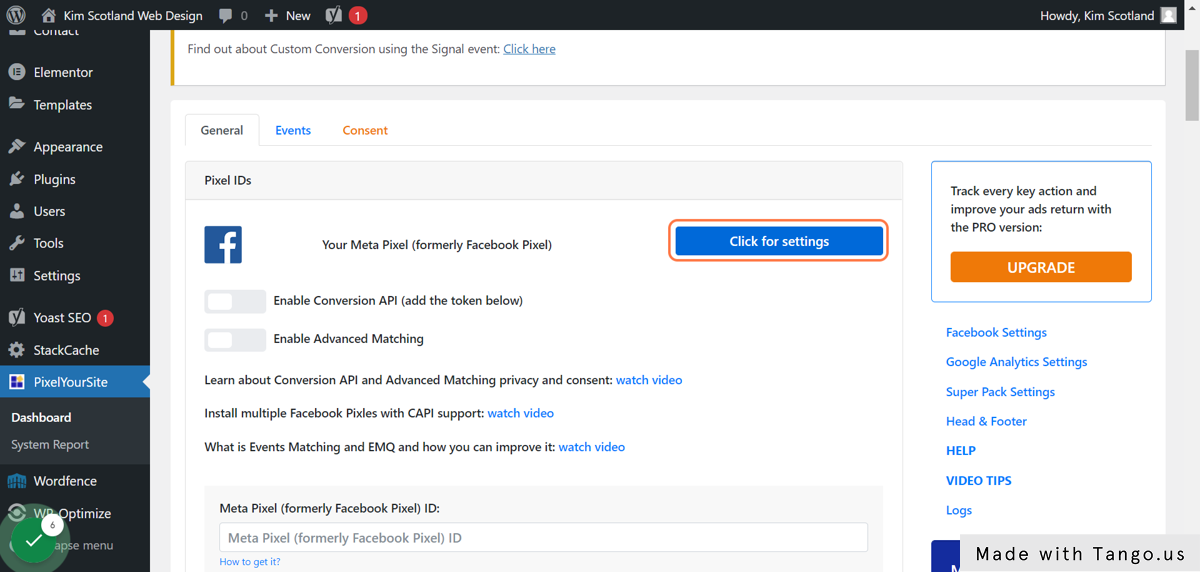
7. Go to Meta Business Suite and find your Facebook pixel Id and copy it
If you don’t already have one set up, you can find out how to create a Facebook pixel here.
8. Click back to your WordPress dashboard tab and paste the pixel Id into the field as shown below.
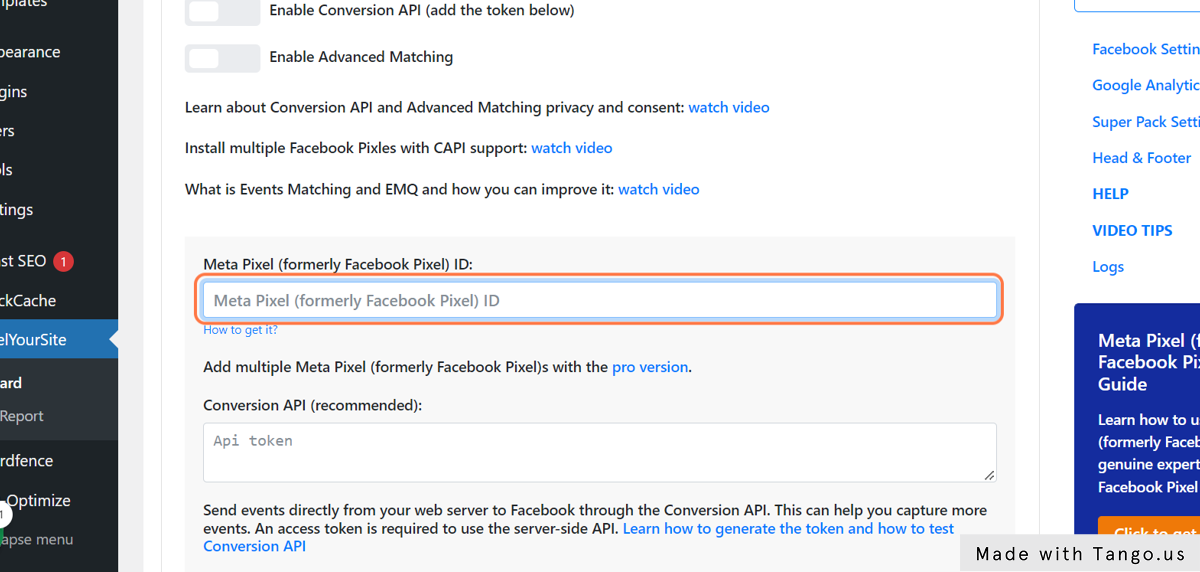
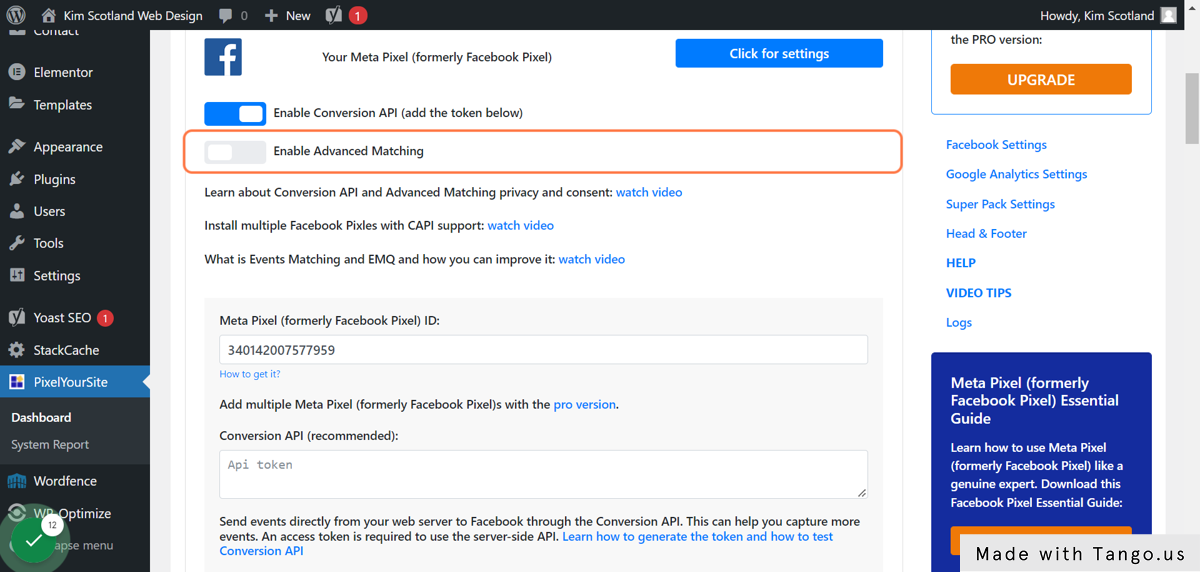
9. Check the Enable Conversion API option.
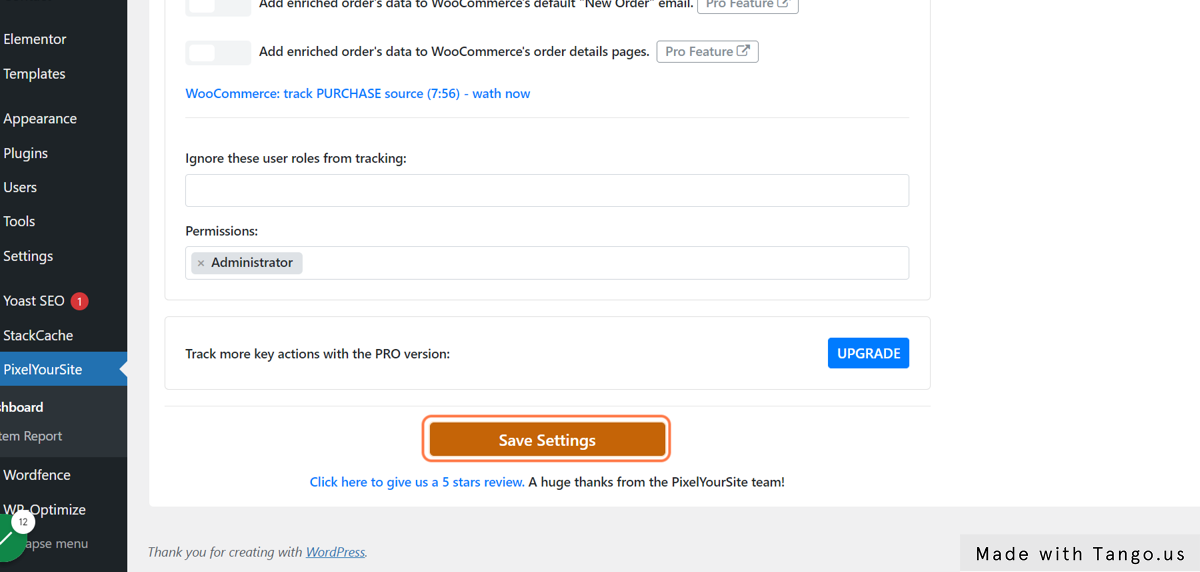
10. Click on Save Settings
11. Open your site in a new tab to test the pixel is there.
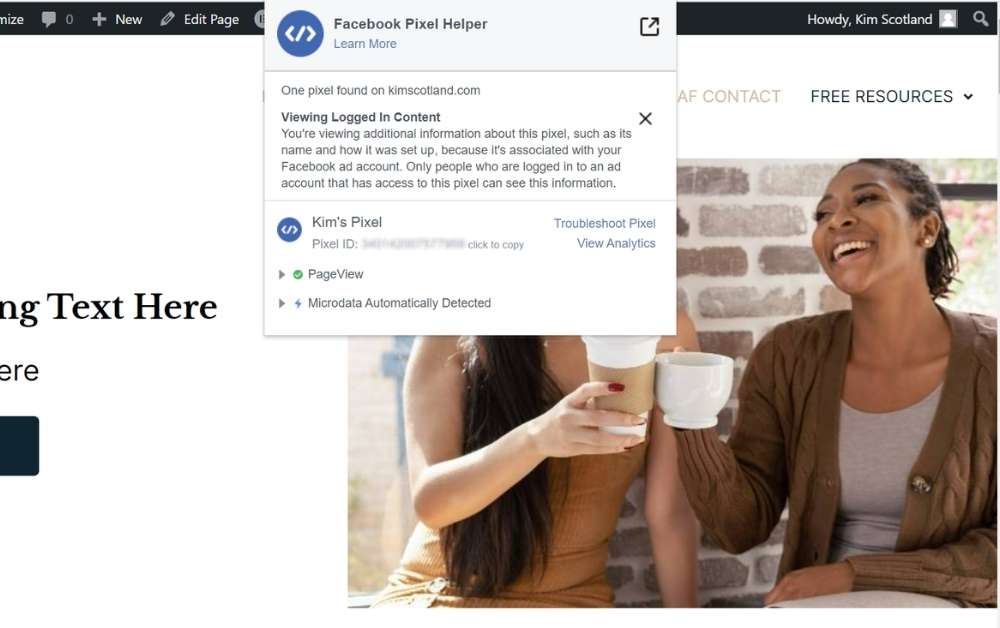
You have a couple of options to test whether or not the pixel has installed correctly. Either install an extension for your browser (I use Facebook helper in Chrome) or you can check your page source.

12. Facebook Pixel helper
13. Check page source
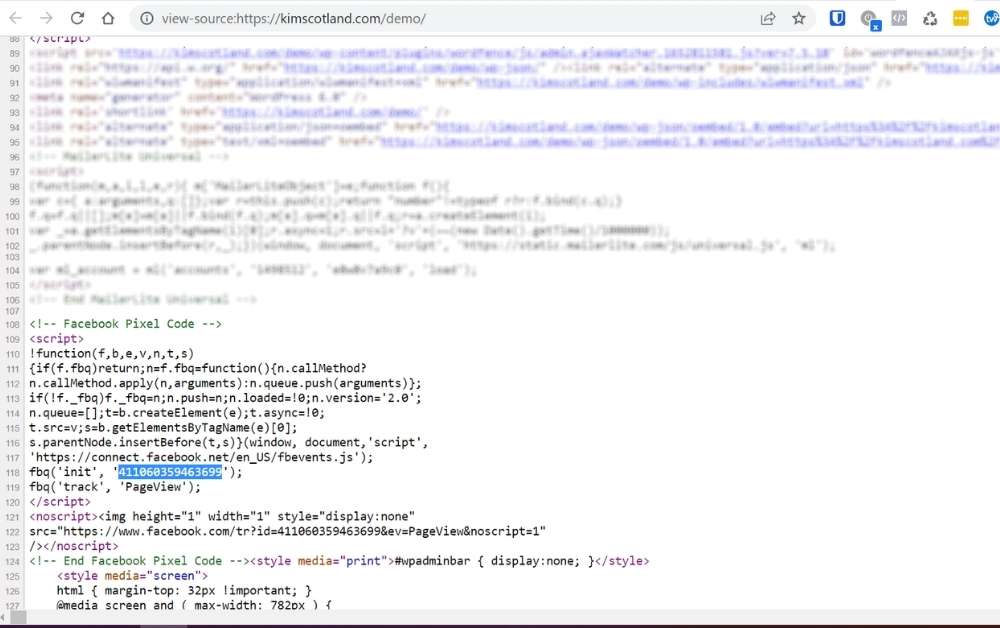
To check to see if the pixel has been added manually right click the page and select View Page Source.
Then search for your pixel Id within the page. On windows you can press Ctrl+F in most browsers or use your browser’s menu and click Find in Page.
Adding the Facebook Pixel to WordPress manually
The title for this section is slightly misleading as we’re going to use a plugin to help us make sure we put the code in the right place. The benefit of doing it this way means we don’t have to create a child theme, which is recommended if you change any code on your site. And using a plugin that allows us to add code means we can add other code as we need it too. Examples of this would be Google analytics tracking code as well as email marketing code such as Mailerlite.
In this example we’re going to use the Insert Headers and Footers plugin.
1. Log into your WordPress dashboard
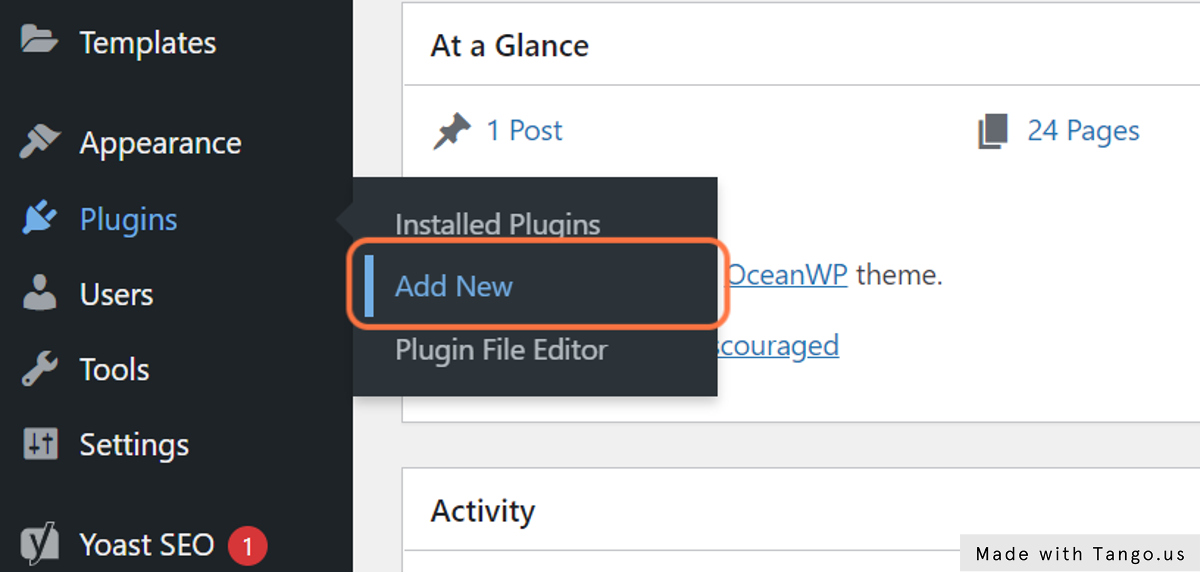
2. Hover over Plugins and click on Add New
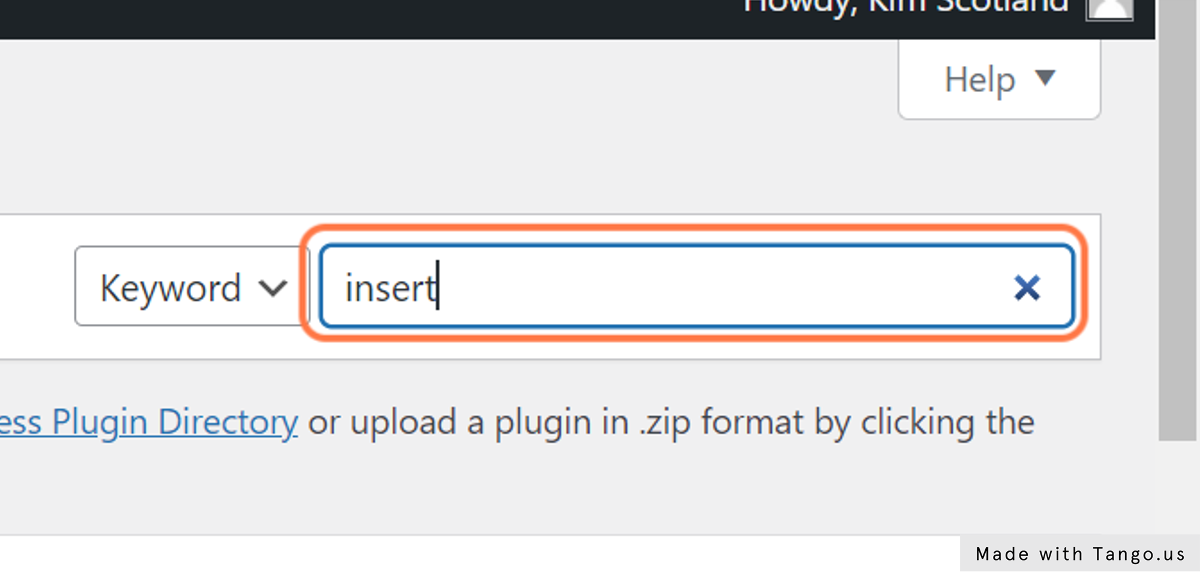
3. Search for “insert”
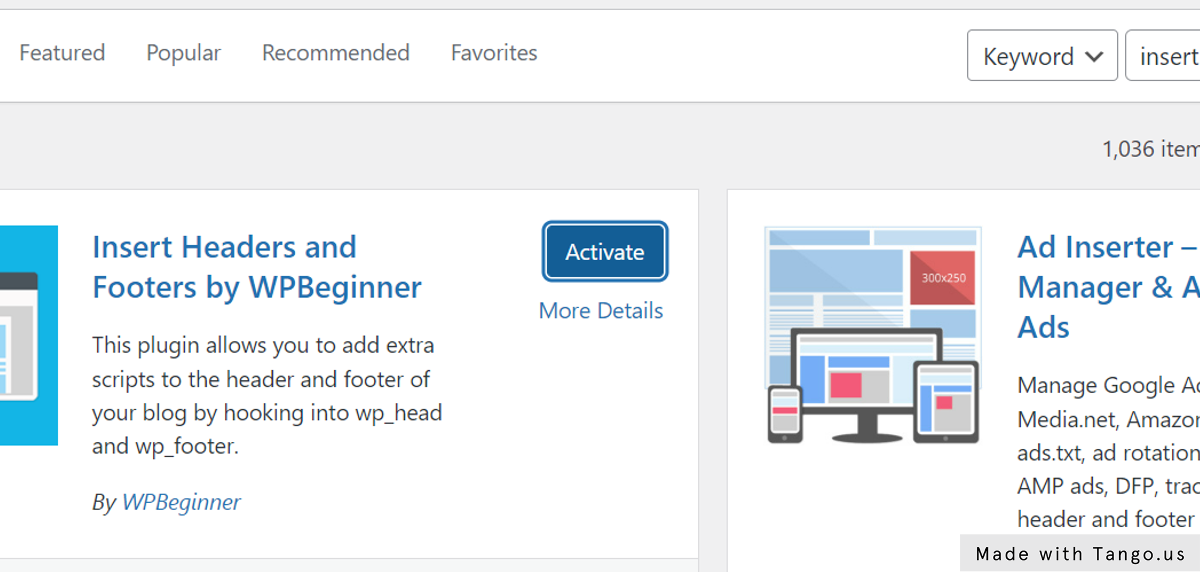
4. Click on Install then Activate next to Insert Headers and Footers by WPBeginner
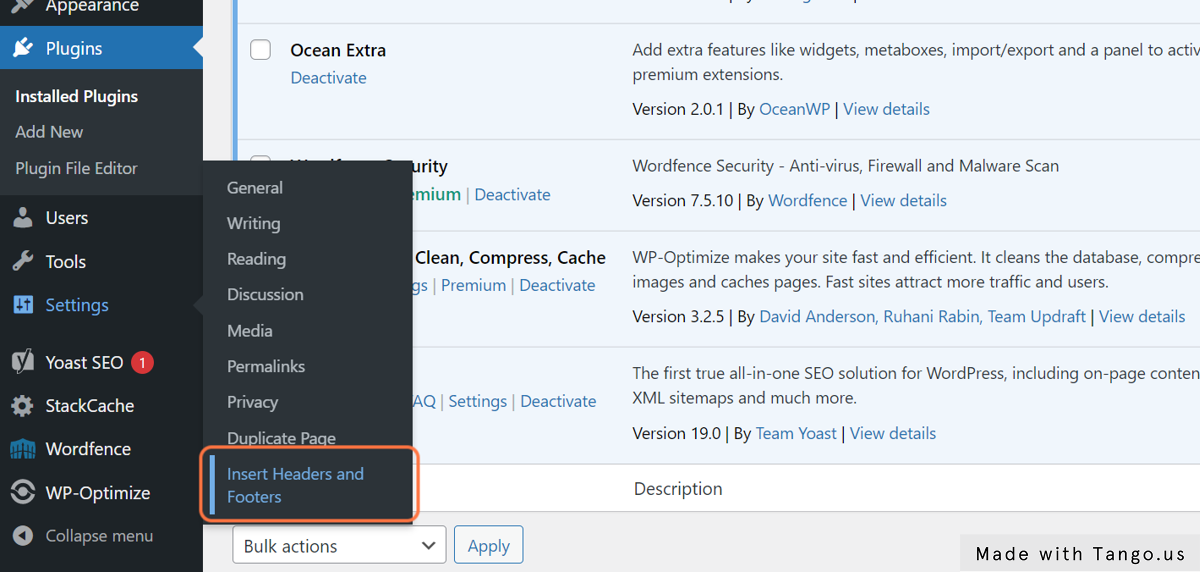
5. Hover over Settings in the left hand panel then click on Insert Headers and Footers
6. Click on Scripts in Header.
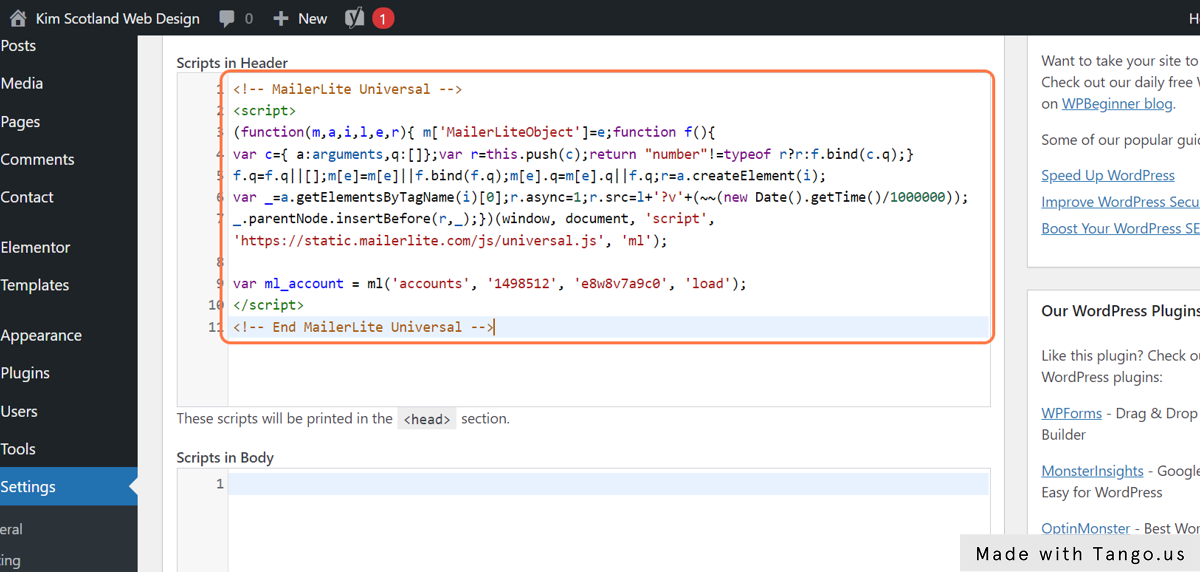
7. In your case it should be empty, paste in your pixel code here.
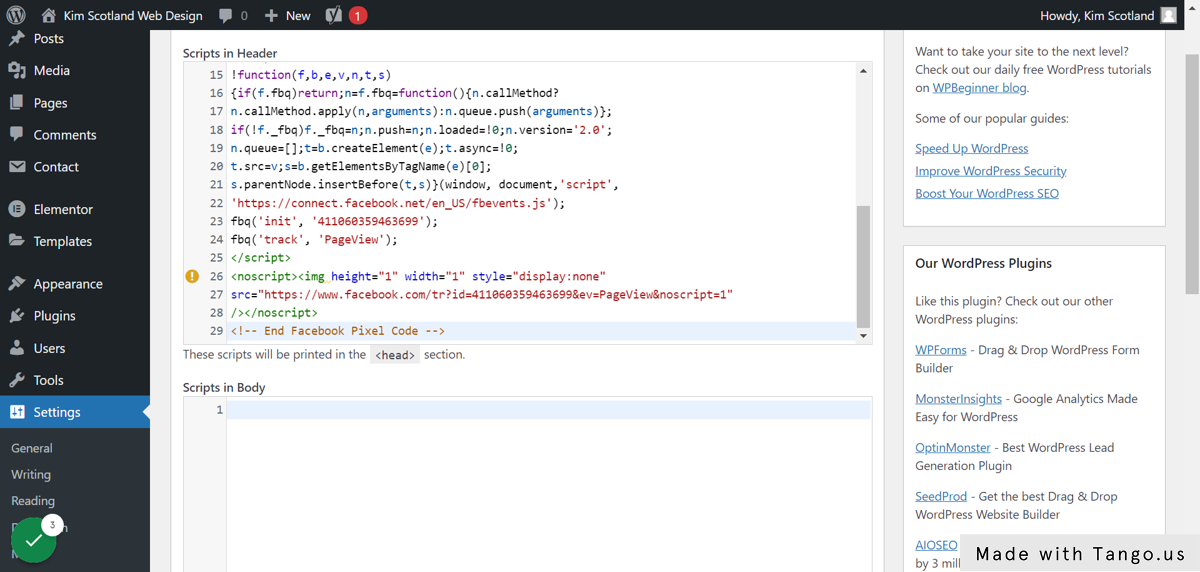
8. Click Save
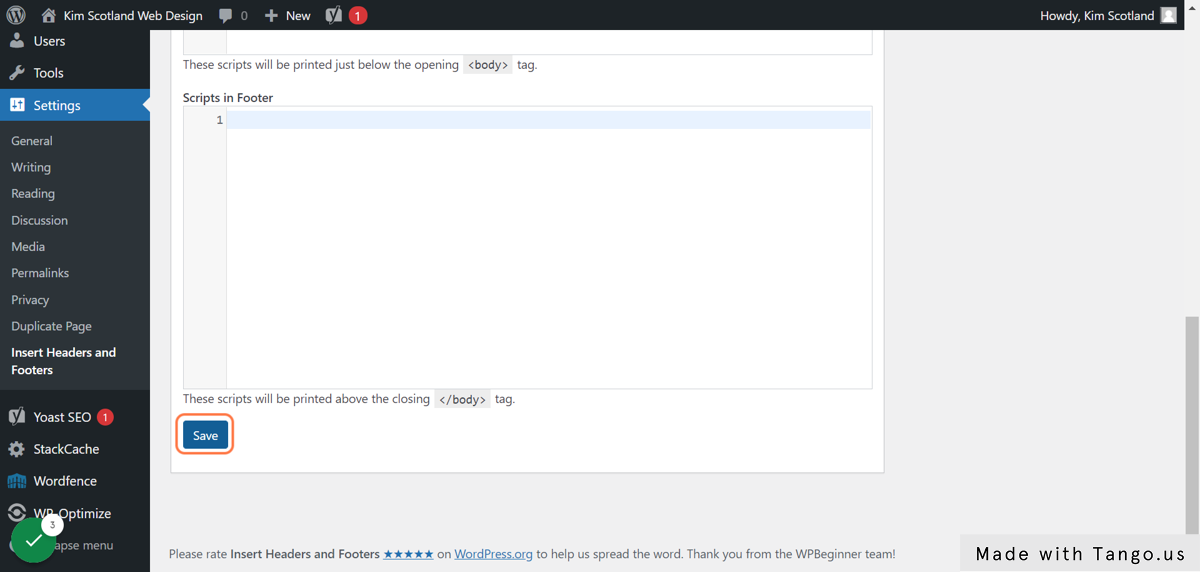
To test that the pixel has been successfully added to your site open it in a new tab. Either add the Facebook Pixel helper or check the source code as described above.
Do you need WordPress Website help?
Need help adding your Facebook pixel to your WordPress website? Or want some general help from a WordPress expert to make changes to your website? A power hour could be just what you need.
In this 60 minute session you’ll get my eyes on your website and we’ll work through any questions or problems you’ve been having with your site. You’ll also walk away with a copy of the call recording so you won’t have to worry about taking notes, and you’ll be able to refer back to it going forward.


You may also enjoy:
What is WordPress? Why use it for your business website?